


Introduction
As the digital landscape evolves, many developers are turning to headless WordPress as a powerful solution for building dynamic, scalable applications. This approach decouples the front end from the back end, allowing for greater flexibility and performance. In this post, we will explore a comprehensive implementation strategy for headless WordPress, focusing on practical steps to get you started.
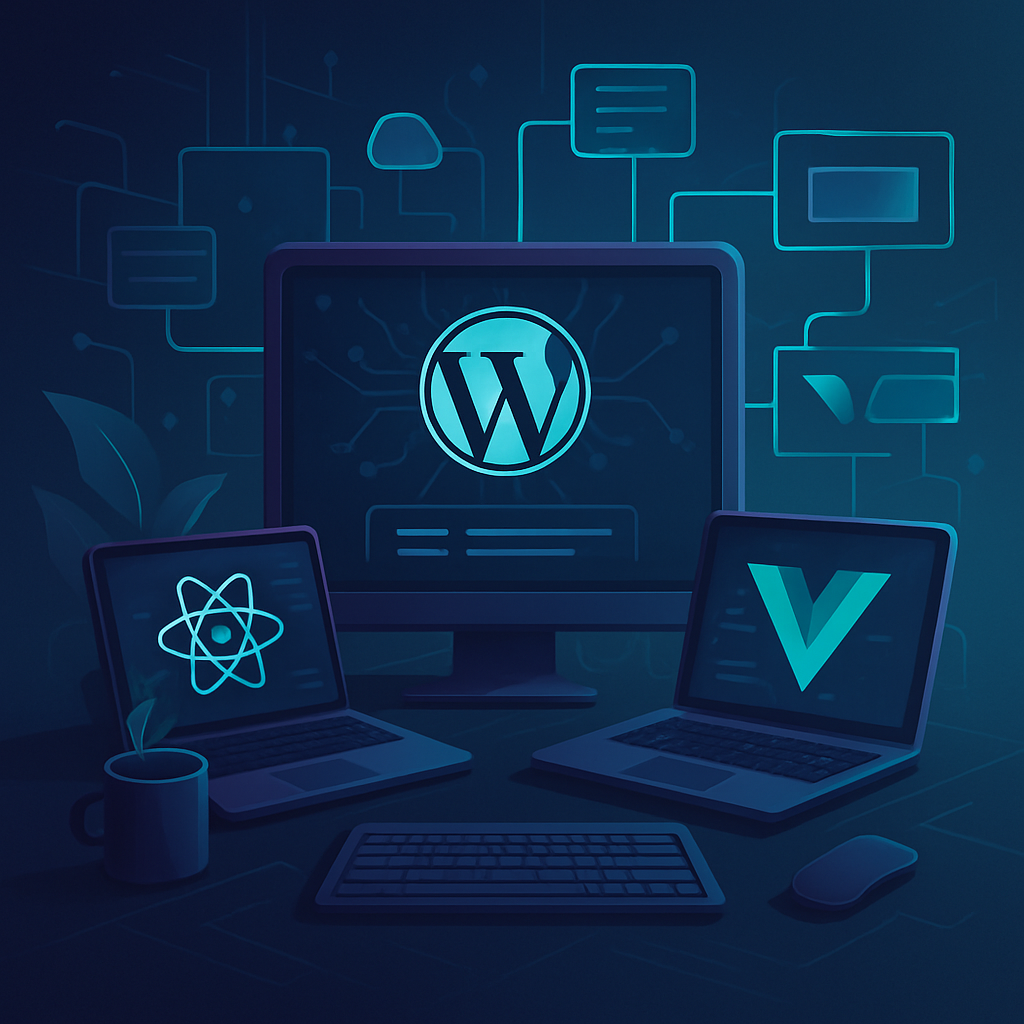
Step 1: Understanding Headless WordPress Architecture
Before diving into implementation, it’s crucial to comprehend the architecture of headless WordPress. In this setup, WordPress serves solely as a content management system (CMS) while the front end is built using modern frameworks such as React, Vue.js, or Angular. This separation allows developers to leverage the best tools for the job, enhancing user experience and performance.
Step 2: Choosing Your Front-End Framework
Selecting the right front-end framework is essential for the success of your headless implementation. Here are some popular choices:
- React: Known for its component-based architecture, React is ideal for building interactive user interfaces.
- Vue.js: A progressive framework that is easy to integrate and offers excellent performance.
- Angular: A robust framework suitable for building large-scale applications with complex functionality.
Step 3: Setting Up Your WordPress Environment
To begin, set up a standard WordPress installation. Ensure that you have the following:
- A hosting environment that supports WordPress.
- The latest version of WordPress installed.
- A suitable theme that you can customize or an empty theme for a clean slate.
Step 4: Installing the Necessary Plugins
To facilitate headless functionality, you will need to install specific plugins:
- WPGraphQL: This plugin provides a GraphQL server for WordPress, enabling you to fetch data easily.
- WP REST API: Although WPGraphQL is preferred, the REST API can also be used to access WordPress data.
Step 5: Creating Your Front-End Application
Once your WordPress setup is complete, you can start building your front-end application:
- Initialize a new project using your chosen framework.
- Set up the project structure and install necessary dependencies.
- Use GraphQL or REST API to fetch data from your WordPress backend.
- Implement components to display the fetched data in a user-friendly manner.
Step 6: Deploying Your Application
After development, it’s time to deploy your front-end application. Choose a hosting service that supports static sites or server-side rendering. Ensure your WordPress backend is also hosted securely and is properly configured to handle requests from your front end.
Step 7: Monitoring and Optimization
Post-deployment, continually monitor your application’s performance. Utilize tools such as Google Analytics and performance monitoring plugins to track user engagement and identify any bottlenecks. Regularly update both your WordPress backend and front-end dependencies to maintain security and performance.
Conclusion
Implementing a headless WordPress strategy can significantly enhance your development process and user experience. By following these practical steps, you can leverage the full potential of WordPress while utilizing modern front-end technologies. Stay ahead of the curve and consider adopting headless WordPress for your next project!